Ultimately, the last bits of improvement don't come from the coach but from the swimmer's internal motivation, calmness and confidence, nurtured by the coaching environment. 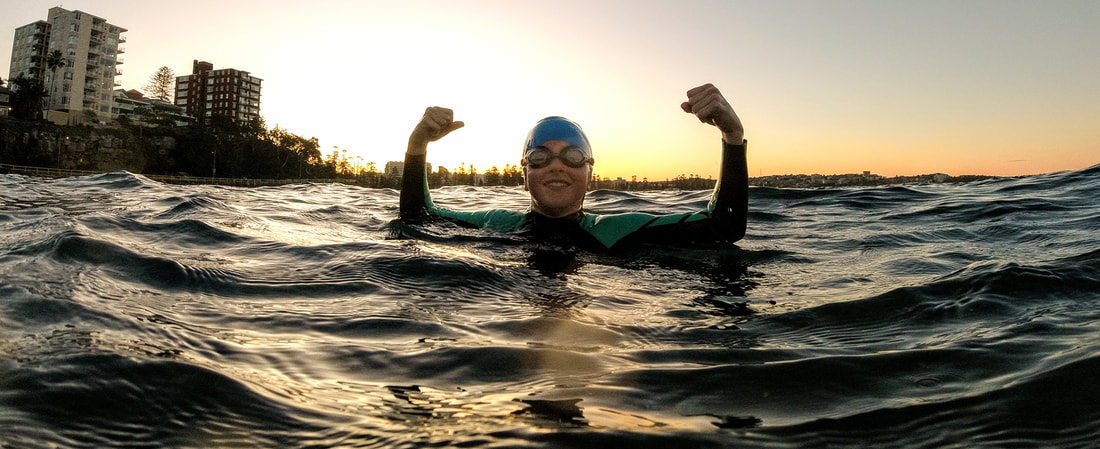 In essence, the most important element of swim coaching is the holistic development of swimmers physically, mentally and emotionally. Coaches play a pivotal role in shaping not only their swimming skills but also their character, self-esteem and overall well-being. GoodSwim aims to provide the following:
Individualised Approach Recognising that each swimmer has unique abilities, goals, and challenges. Tailoring coaching methods to meet the specific needs of each swimmer ensures optimal growth and progress. Importance of Technique Emphasising proper technique over speed, helping swimmers master fundamental skills, strokes, turns, and starts. A strong foundation in technique contributes to long-term success. Motivation and Confidence Instilling motivation and self-confidence in swimmers by celebrating their achievements, no matter how small and helping them set and achieve meaningful goals. Positive Communication Maintaining effective and positive communication to provide clear instructions, constructive feedback and encouragement that fosters trust and a positive learning environment. Adaptability Adjusting coaching methods as swimmers progress, ensuring that training plans remain relevant and challenging as skills improve. A Lifelong Love for Swimming :)
1 Comment
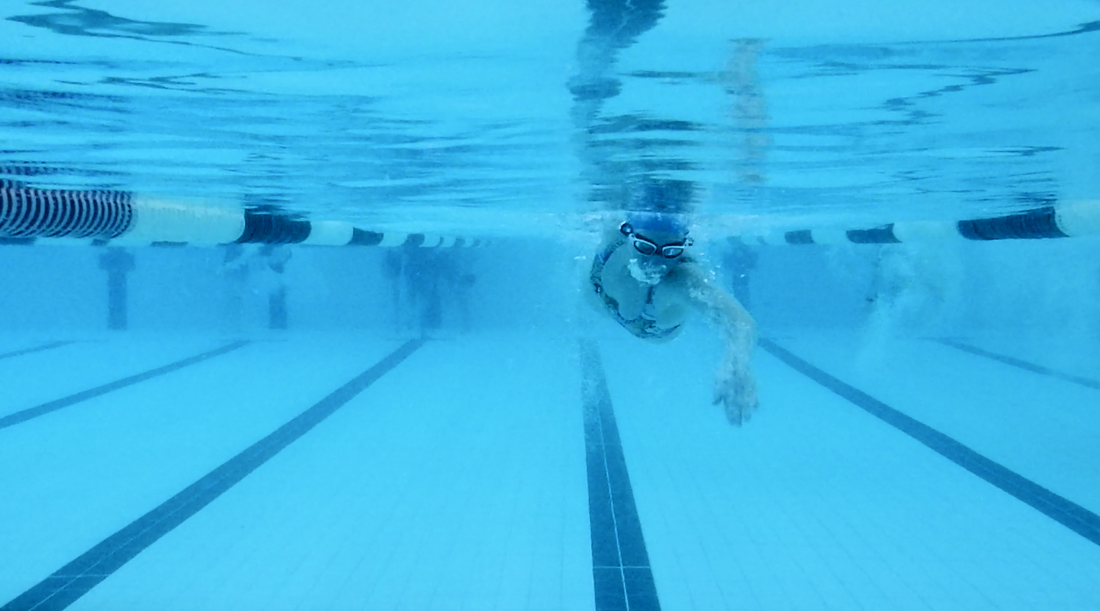
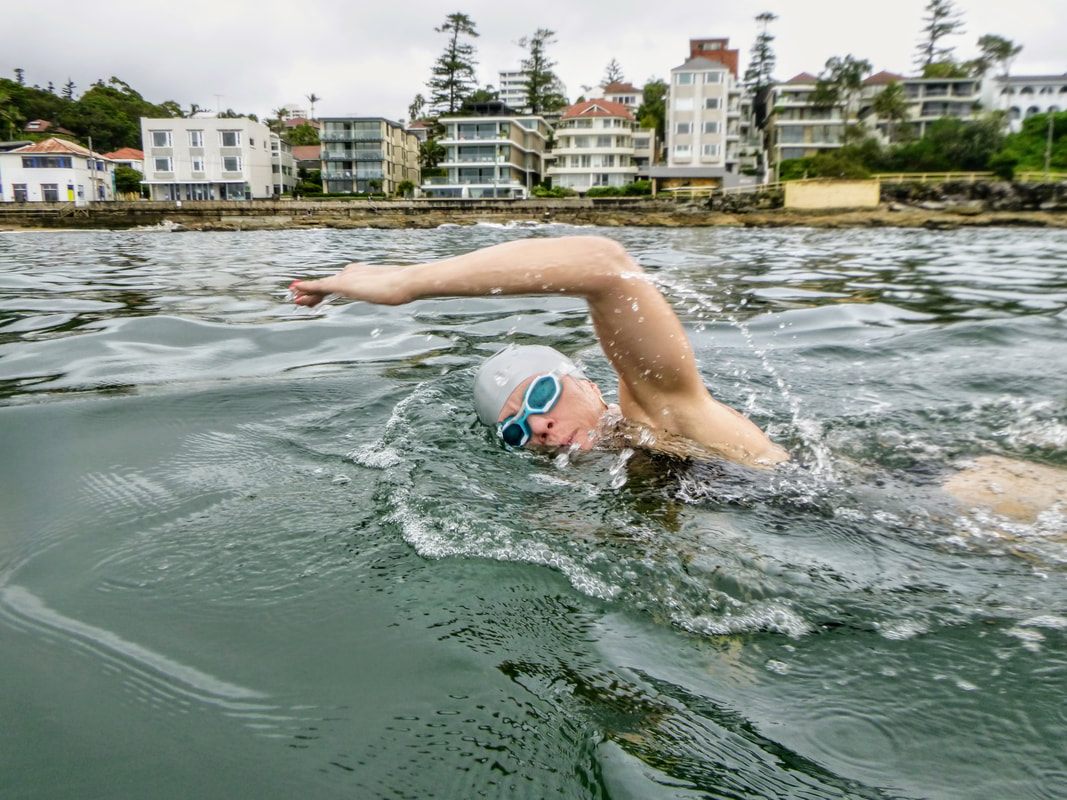
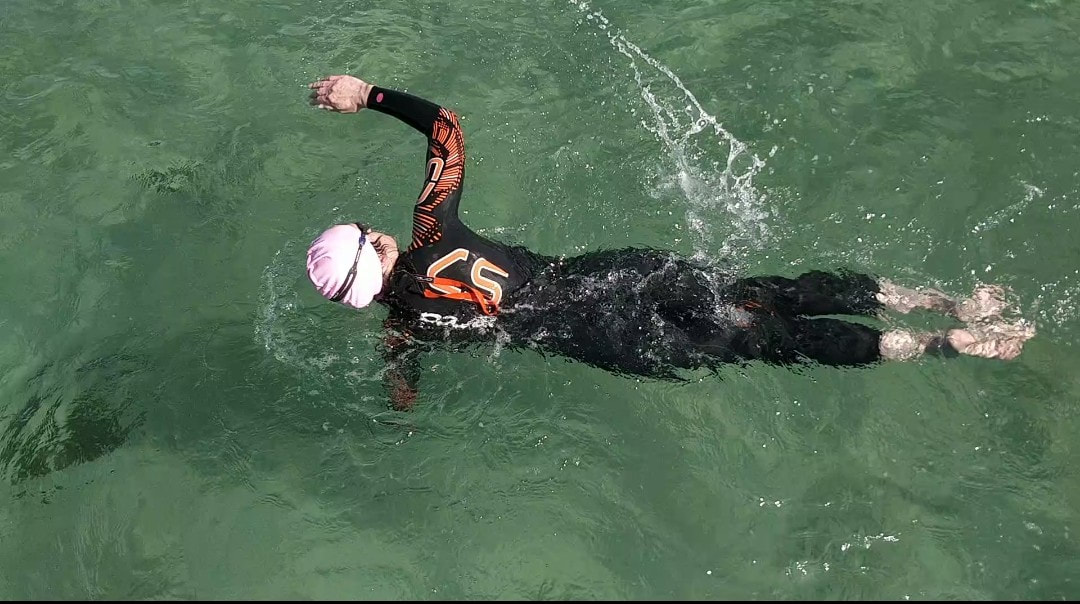
We all have different body types and lengths, different levels of flexibility and mobility and different levels of strength and power. But we all have the same goal… swim fast but efficiently. So what is the quickest way to move forward through water? To move forward, we have to move a lot of water backward, simple! So, if we create a big paddle area and pull it straight back, then that means more water gets pushed backwards, so you move forwards. There’s no side to side movement, no sweeping under the body, no lazy elbows. Are your hands and arms sliding through the water without much effect, not engaging the water with the correct movement to feel the resistance of the water against your hand and forearm (your big paddle)? The first element of your catch is not actually your hand… the first thing is your elbow pushes slightly out to the side to allow your hand and forearm to push down on the water, keeping the elbow high to get the vertical forearm position. From here you can feel the resistance as you push back down the side of the body, your lats should start to activate and increase the power. Also, by holding the front recovery arm in place until the stroking arm is just about to enter the water provides constant momentum and helps with stability at the start of your catch phase. Your leading arm should only pull down as the other one comes over your shoulder to enter the water. Basics:
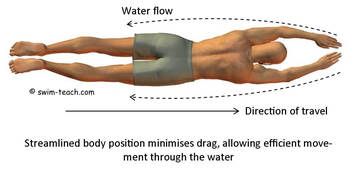
 The key to swimming efficiently is to make the water work with you. By fine tuning your technique, being relaxed, getting your body position right and reducing resistance you will go faster.
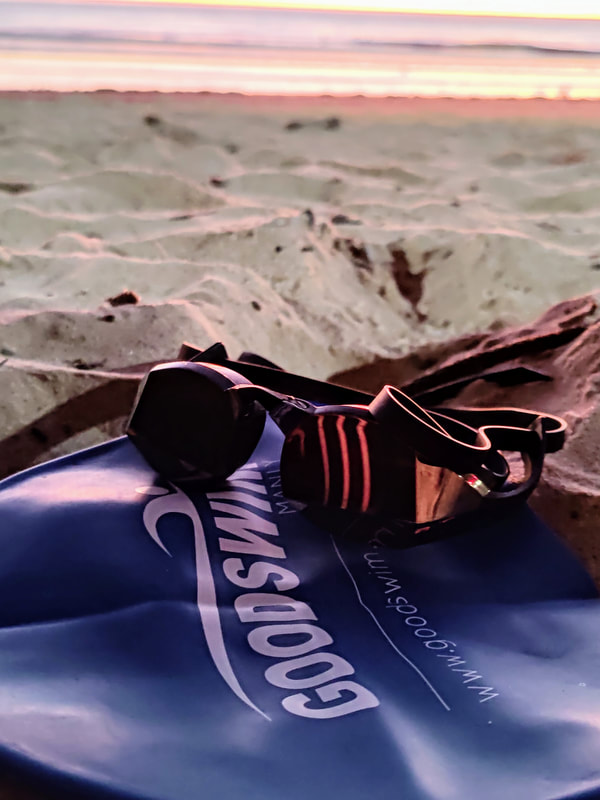
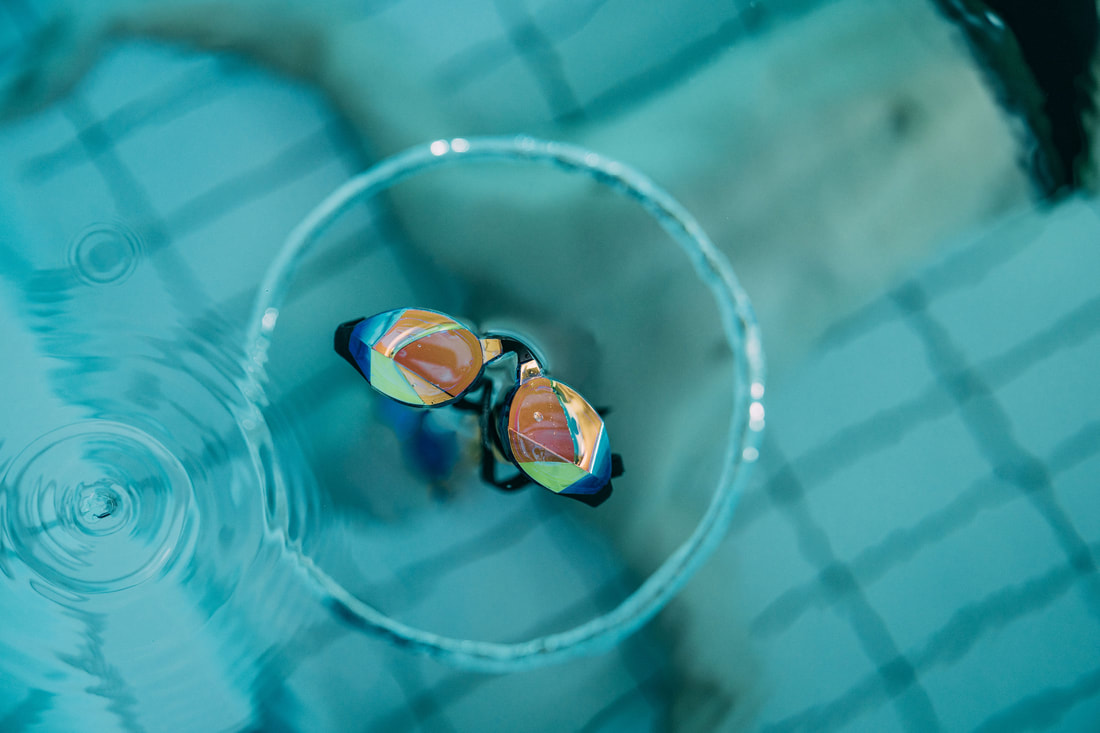
For more tips on improving your swim technique contact me and book in for a stroke correction session. I swim a lot, obviously, it’s my job. Like everyone else I hate it when my goggles leak so I looked online for ‘better fitting goggles’. I ended up at Magic 5.
Cons
My personal review: I really liked the comfortable fit and for that reason I will buy them again. I got in touch with the retailer and they have provided me with a discount code for my swimmers. They kindly sent me a free pair to test out, hence the above review. If you are interested in trying the Magic 5 goggles for yourself then get in touch, I can give you the GoodSwim discount code and you get 35% off!
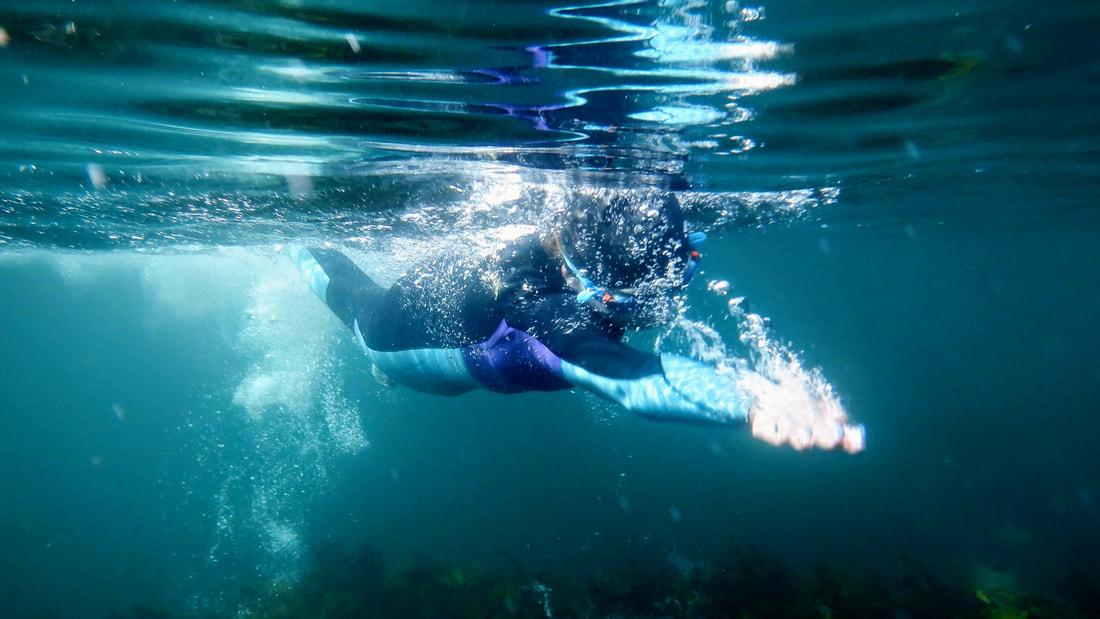
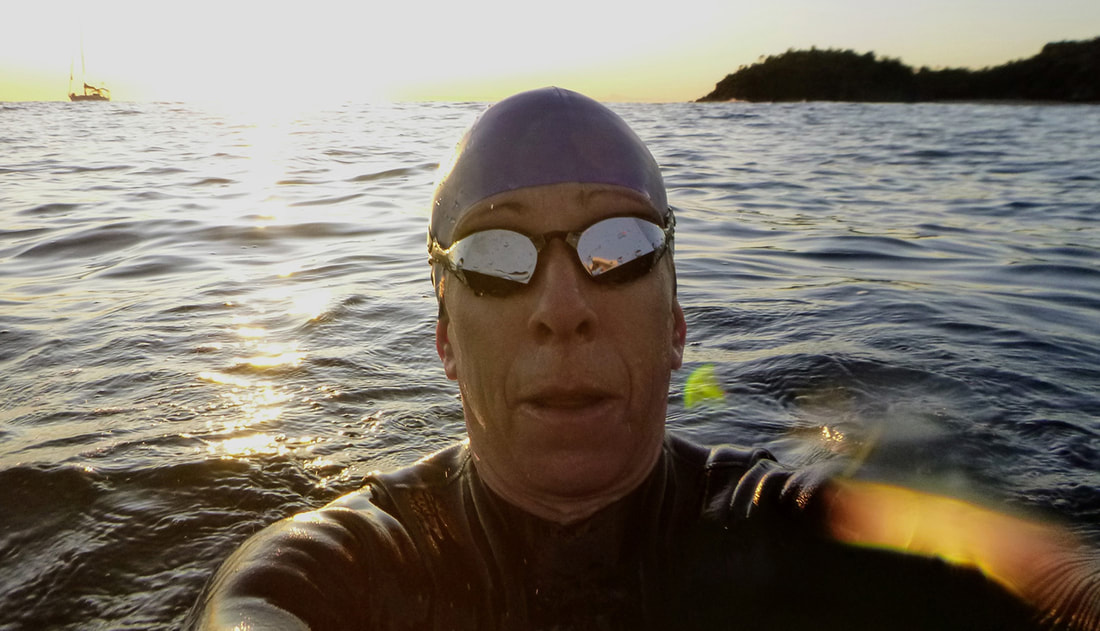
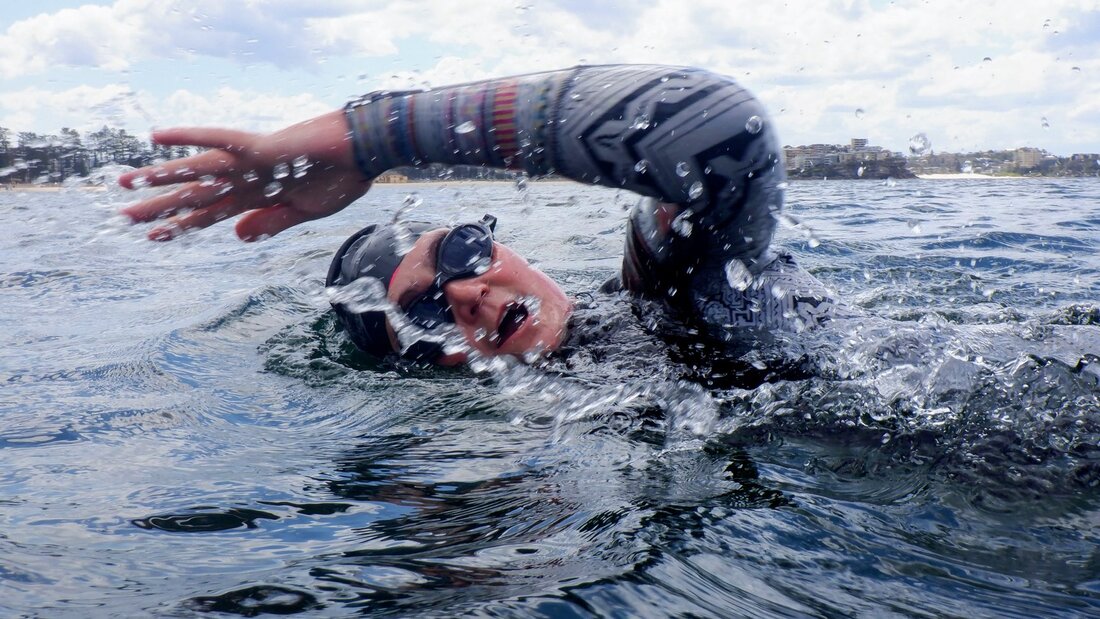
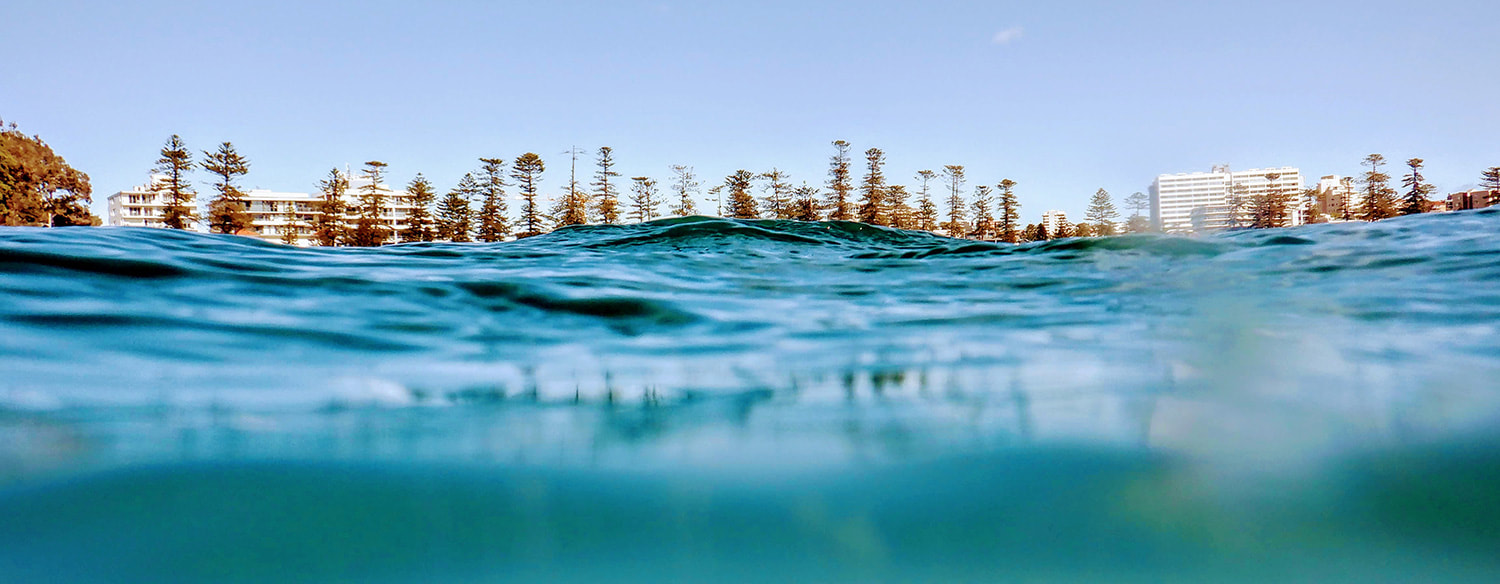 What causes motion sickness? Motion sickness when swimming can be experienced when pool swimming but it’s more common in open water, especially the ocean. The ocean has more movement and on those days when water is choppy and bumpy, there is an increased chance of motion sickness.
However, it often sets in whilst in deeper water when we can’t go back to shore immediately. In this case stop, try and focus on something static such as a landmark or the sea bed. Try as best you can to calm your breathing and divert your mind, rather than focusing on the nausea. Talk to your buddy, think hard about something else or sing a song.’ If you struggle with motion sickness then maybe ease yourself into swimming in different conditions. Ocean pools can be useful for this for safety reasons. The ocean pools are affected by the tides and on high tide can get quite bumpy with water spilling into the pool from the surf therefore a lot of water moving around. Swim a little and often in different conditions to acclimatise your body to the movement of the water. Keep a calm rhythm with your breathing, keep movement and sighting to the minimum with a good head position looking down. When ocean swimming you never know when the conditions can change. Motion sickness can happen with any water activity, not just swimming so ALWAYS buddy up and know your limits.  Have you suffered from motion sickness whilst swimming?
 If you find just breathing is holding your swimming back... check out this step-by-step guide that shows you the technique you need to allow you to breathe efficiently. Here's my top 10 tips... 1. Make sure to rotate your body side to side when swimming freestyle, this makes it easy to get your face out for a breath. 2. Be relaxed in the water, being tense uses a lot of energy and and limits your flow. 3. Always exhale underwater and inhale over the water. 4. Do not lift your head up for a breath, instead just roll your face out of the water to the side. 5. Do not hold your breath for too long, breathe every 3 or 2 strokes. You should be breathing all the time, not waiting until you need a breath.
6. Try to keep one ear in the water when breathing, this will make sure you remain streamline and do not lift your head. 7. Make sure to leave your arm out in front gliding forward while breathing, this will help forward movement and prevent sinking. 8. If you only breathe on one side, practice breathing on both sides every now and again to help balance the body. 9. Before you get in the pool, take some large breaths in and out to stretch out your lungs, this will make it feel easier to breathe when you are swimming. 10. If you are struggling contact me and I can work with you.
Learning how to breathe is the basic fundamental of swimming.
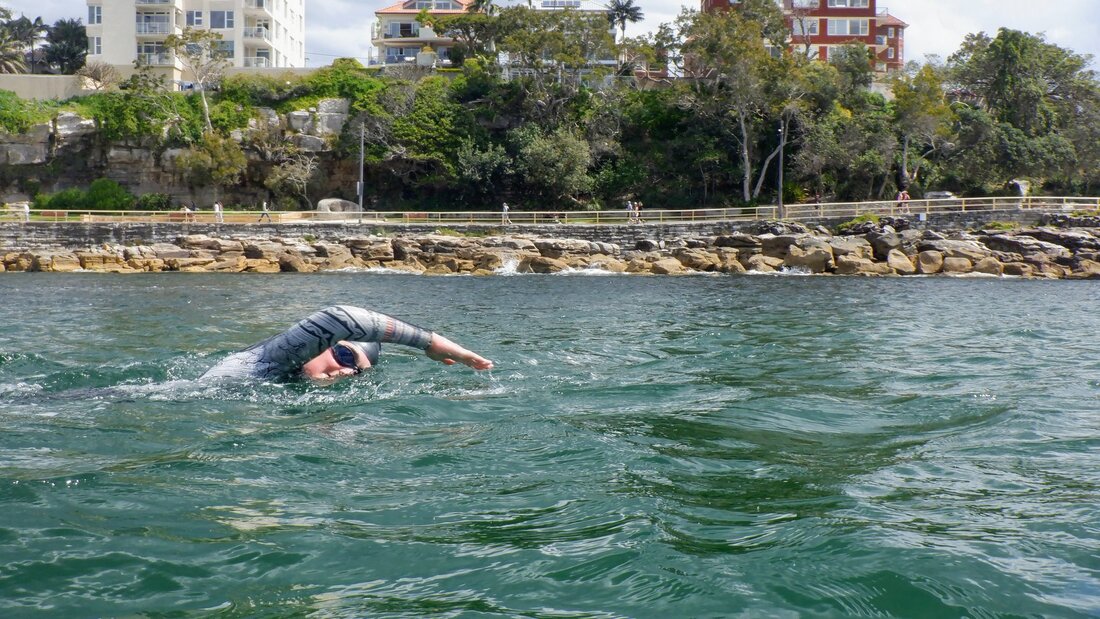
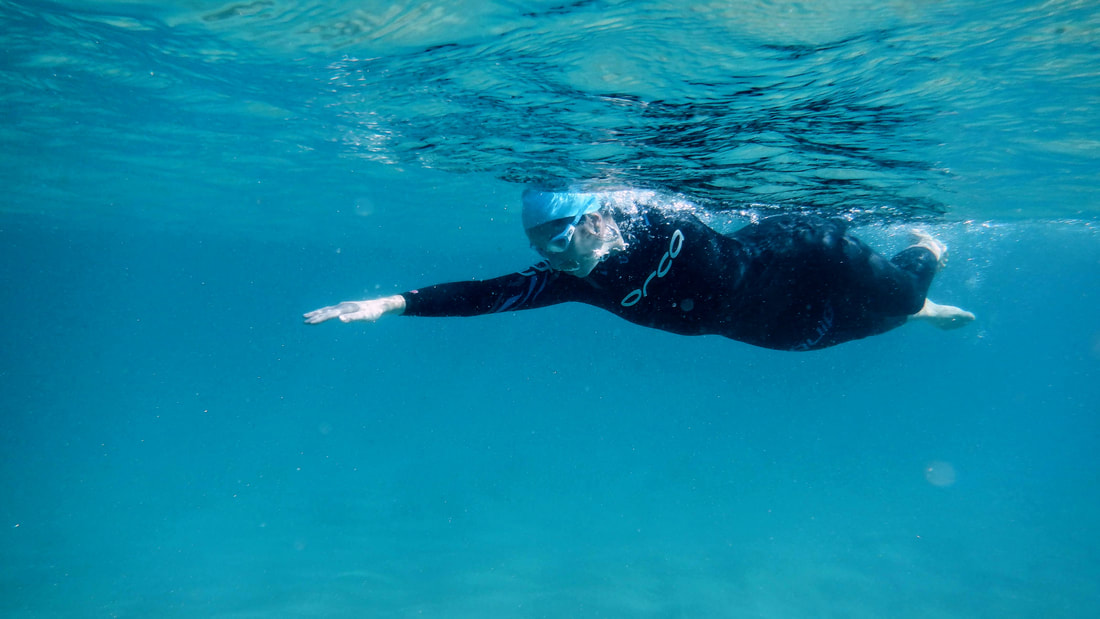 When swimmers come for stroke correction the first thing they say is I am too slow, I want to swim faster. Firstly, my swimmers have to swim a lap without any instruction so I can see where their technique is at, my first comment will most likely be… OK now swim back 50% the speed you just swam. When I tell people to swim slow, they will slow down, almost pause over the water but they often still rush their arm through the underwater phrase, especially on their breathing arm. This is usually due to the lack of momentum keeping their bodies afloat and this can then often lead to a 'timing limp' in their stroke. The best way to improve your technique is to slow down and be more aware of the small changes. If you rush through movements chances are you are not feeling the water and using it to your advantage. You have to learn to swim slow and find your stability and balance through your core to feel what makes you a strong swimmer.
My swimmers have to swim a couple of laps with a swim float / pull buoy between their knees because a lot of swimmers use their legs as stabilisers. The purpose of swim float / pull buoys is to create extra buoyancy for your hips and to bring your body position in line so you are more streamlined. This can help you to focus on the rest of your stroke, build core strength, slow down your stroke – and a whole host of other useful things to improve your overall swimming. Once your legs are together you become streamlined but then you become unstable so most swimmers struggle with other aspects of their swim stroke… rotation, stroke timing, arm alignment, breathing and co-ordination. If you slow down your stroke to practise breathing elements or arm entry timing, especially as a beginner, your hips and legs can begin to drop through the lack of momentum. This will render the drill useless and encourage bad positioning. This is going to help you develop a better feel for the water, which will make it so much easier to develop a more effective and balanced freestyle. Freestyle technique video. Find your balance, stability and strength slowly = stronger and faster through every stroke. REMEMBER - You have to slow down before you speed up! If you are looking to achieve a goal in your swimming get in touch and lets Get Swimming - [email protected]
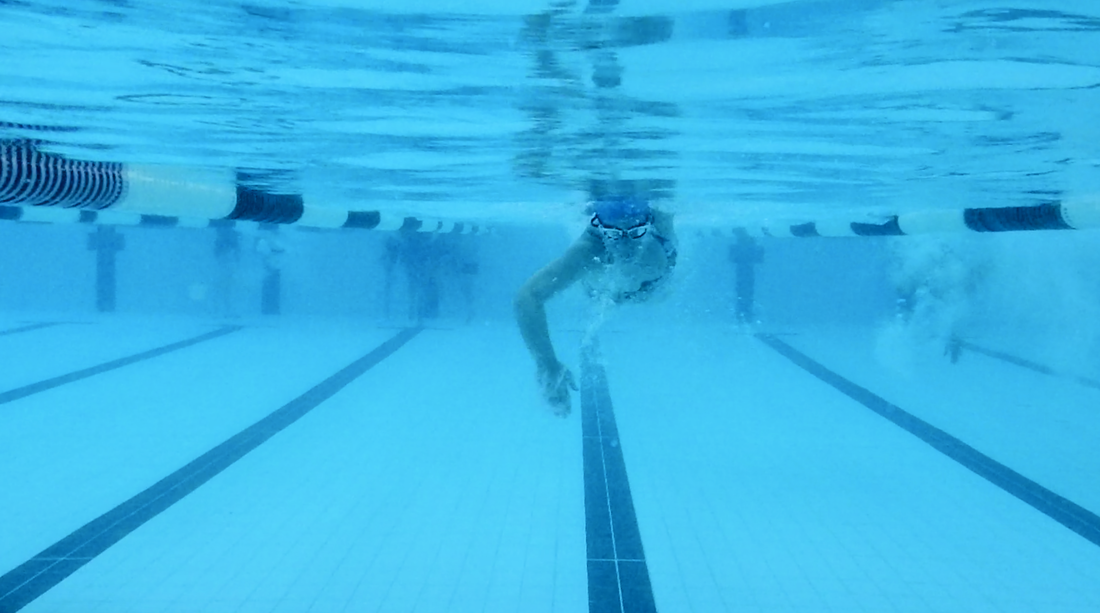
Drills isolate the problem, help correct the problem, help ingrain the correction. Drills are a useful part of working on form and technique in your swim. By stepping away from just swimming up and down the pool, you can focus on elements of your stroke and add the correct movement and control. You then give your speed the chance to improve through making elements of your stroke stronger. Many novice swimmers who are just starting to swim can only manage a few lengths without taking a break. To improve your swimming by just continuing to do 500 metre sets may get you faster over time but will always be limited by inefficient form, also ingraining bad habits which will prevent you from getting faster and more efficient. BUT drills and swim aids are only a tool and should be used properly and specifically. They are not to be used over mindless laps, use them with purpose to improve form and help with speed and fitness. Make sure you know why you are doing that drill and what it is aiming to improve. Drills build awareness of what your body is doing and how important different elements of your stroke affect your overall body alignment, strength and efficiency. Below is an example of the Fingertip Drag drill / Zip drill – Swim normal Freestyle dragging fingertips along the surface of water on the recovery. Focus on a high elbow recovery, which ensures proper hand and elbow position at your hand entry. You should also check your body position during this drill, focusing on good side-to-side rotation.
If you are looking to learn to swim or improve your technique and efficiency get in contact.
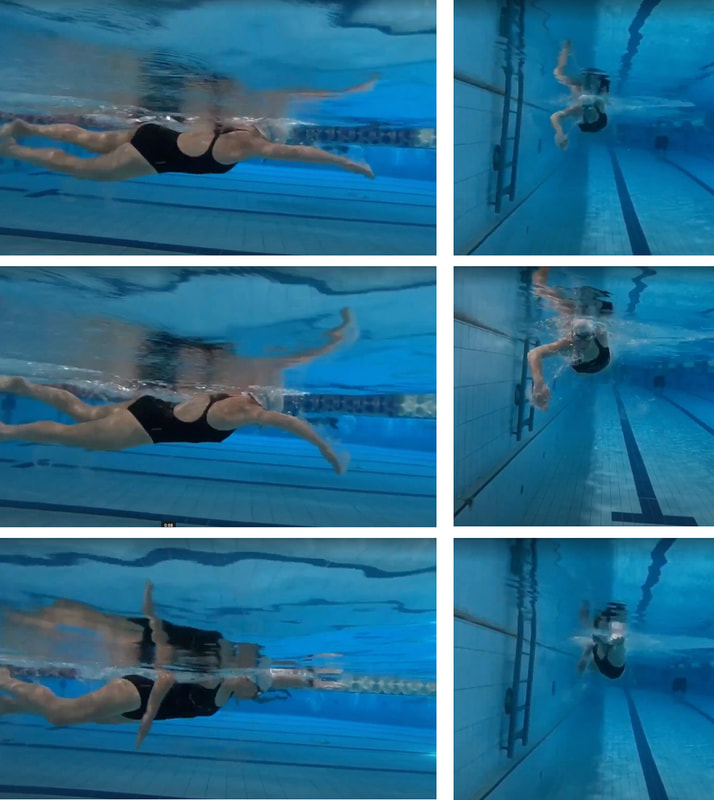
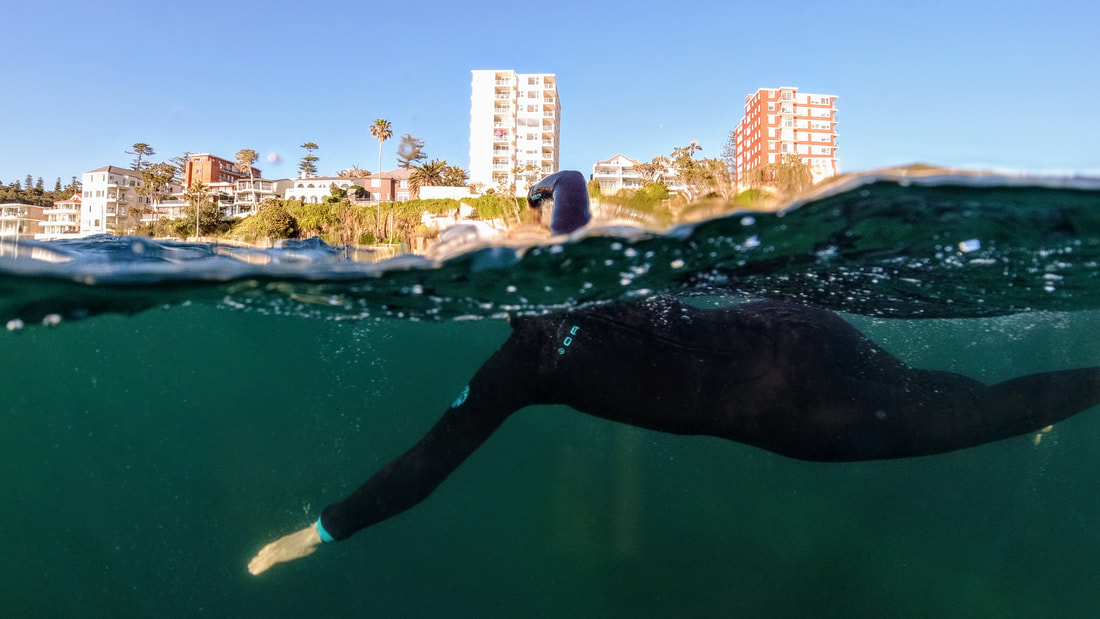
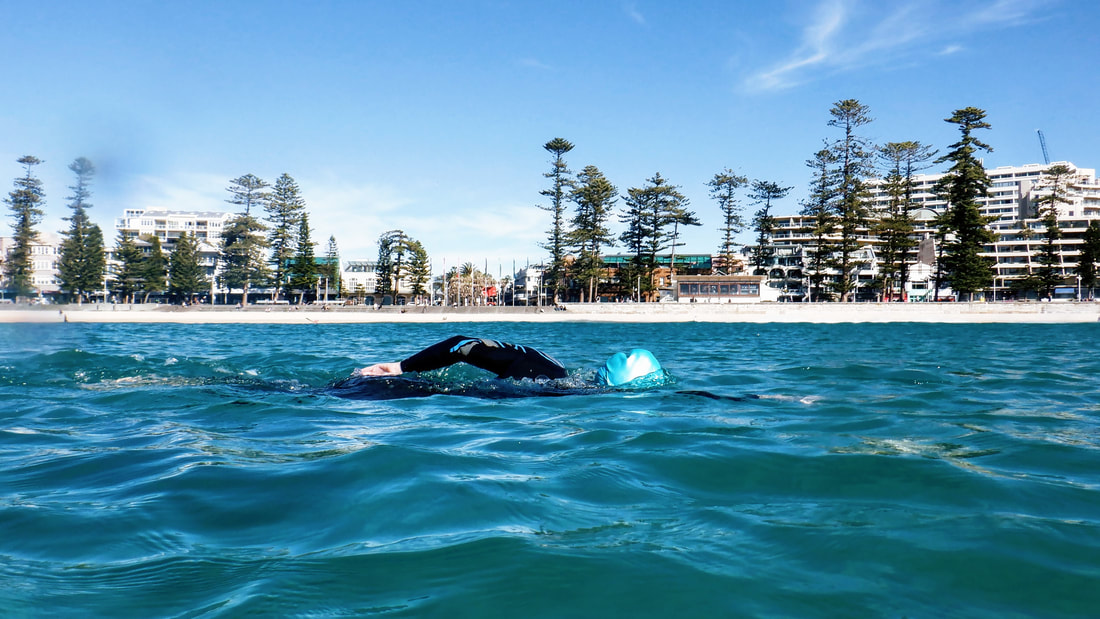
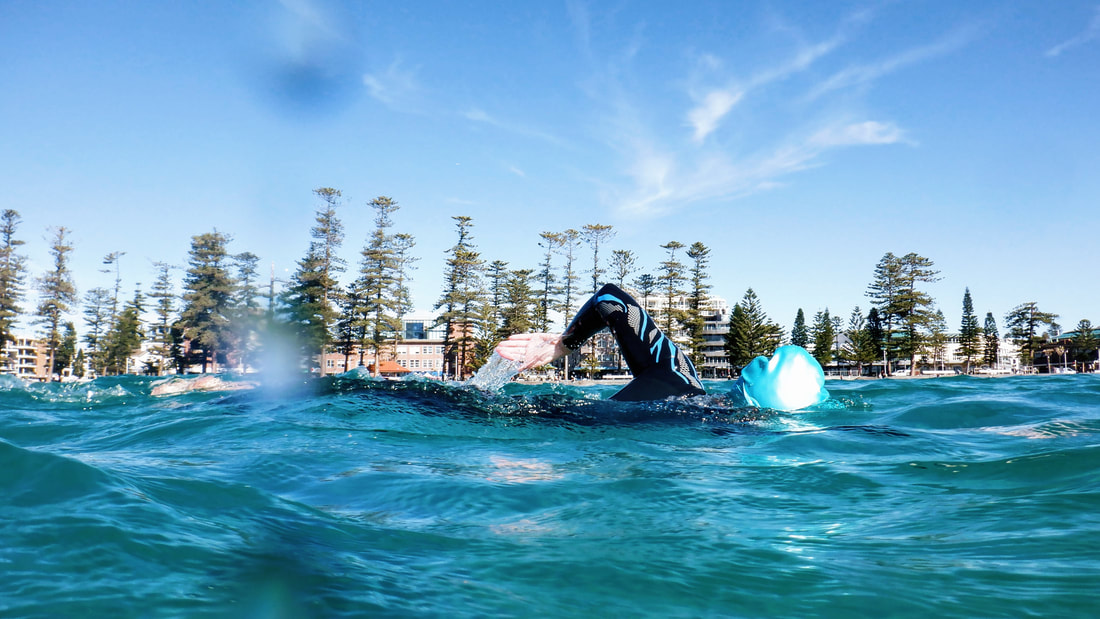
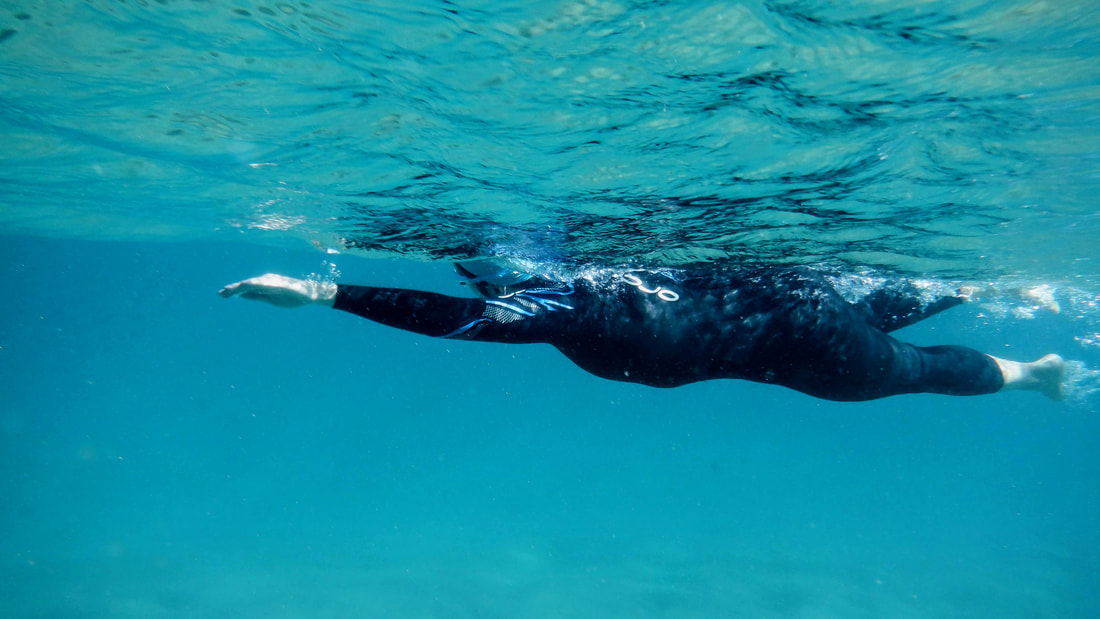
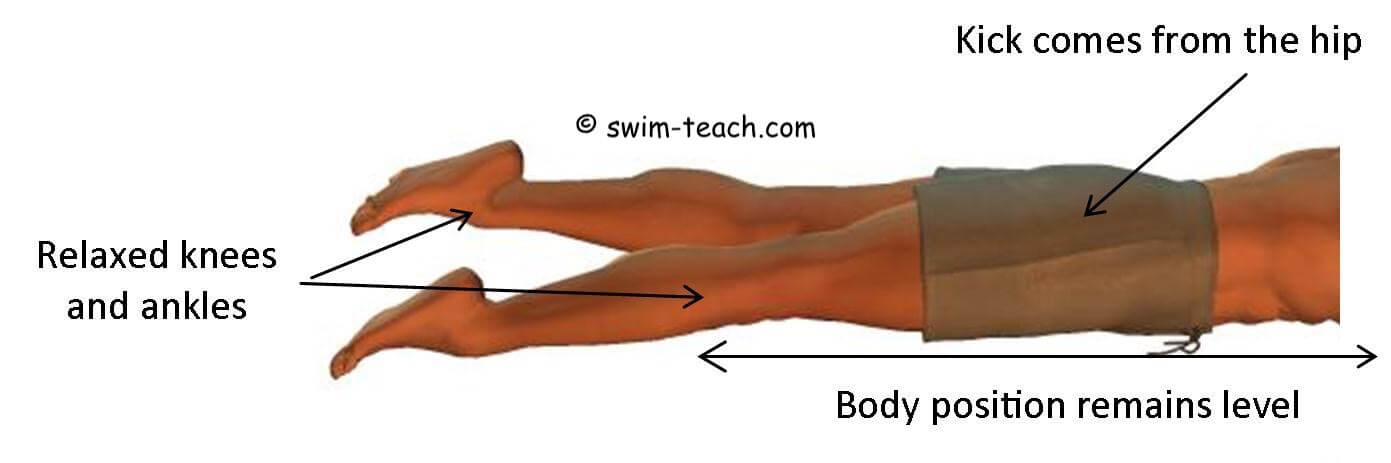
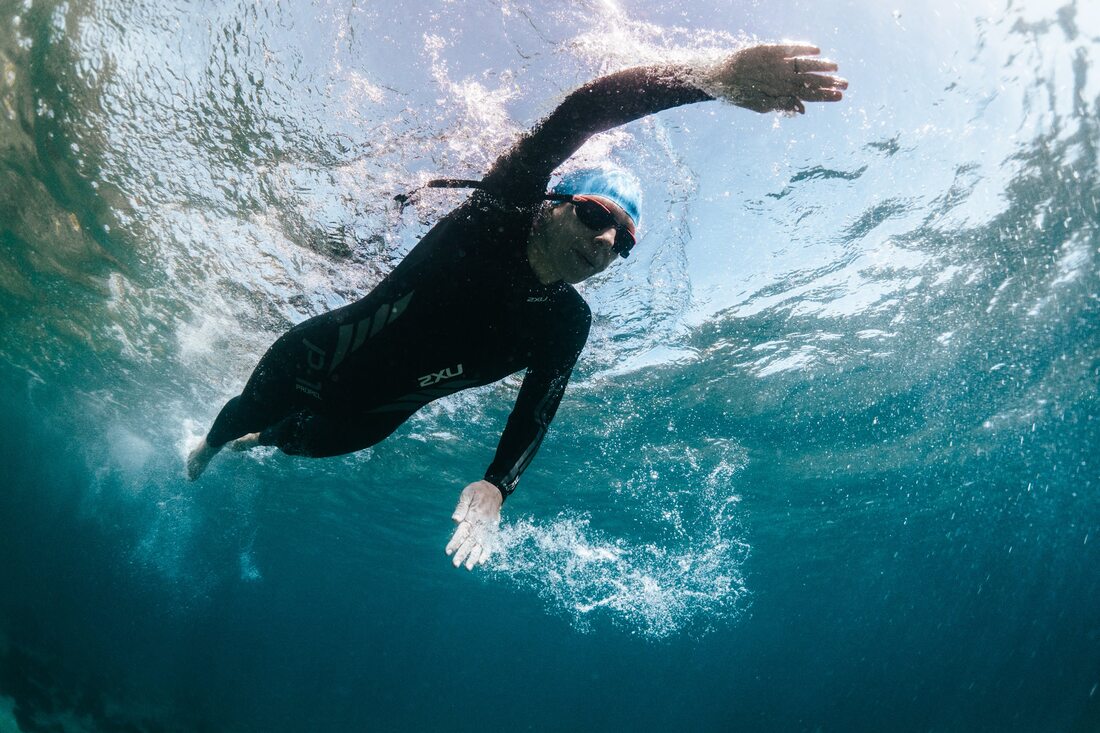 Swimming is a full-body movement, and efficiency comes from developing coordination between your upper and lower body. The kick provides stability, improved body position and propulsion, all components necessary for a more efficient freestyle. In the water, over distance it is our arms that generate most movement providing approximately 85% of forward drive and the legs merely serve to 'balance' our position, preventing the body from rotating to far around and stopping our legs from sinking heavily “behind” us.
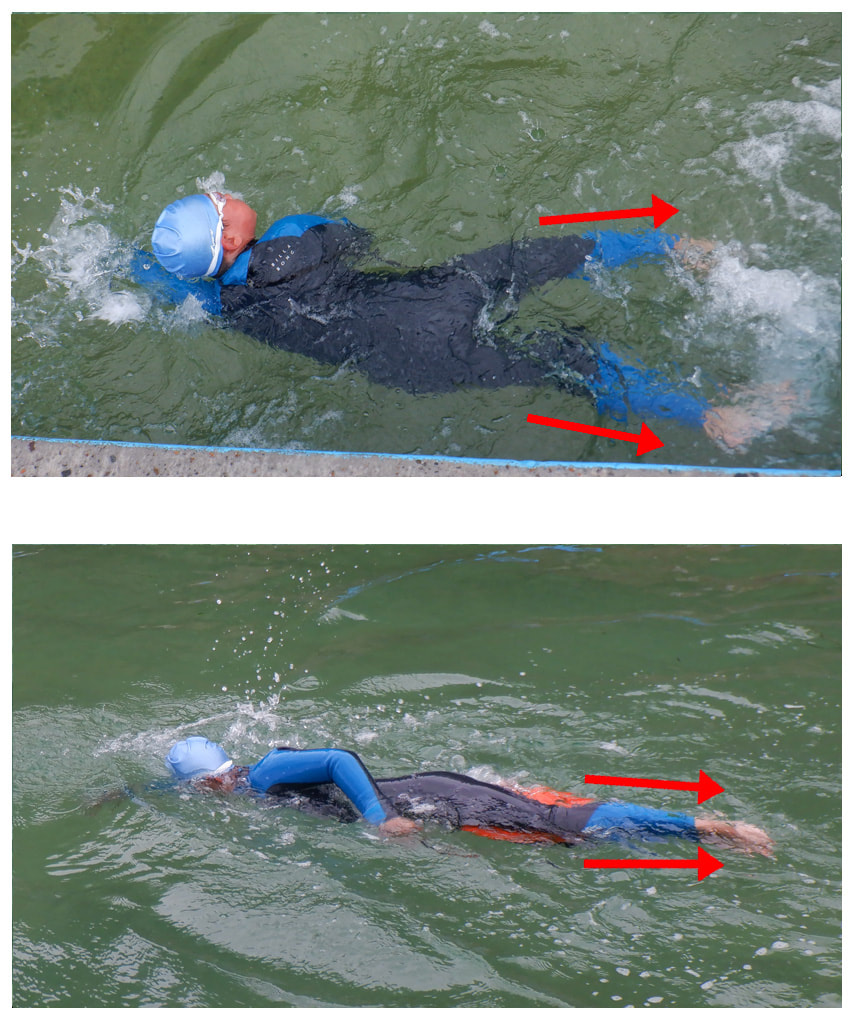
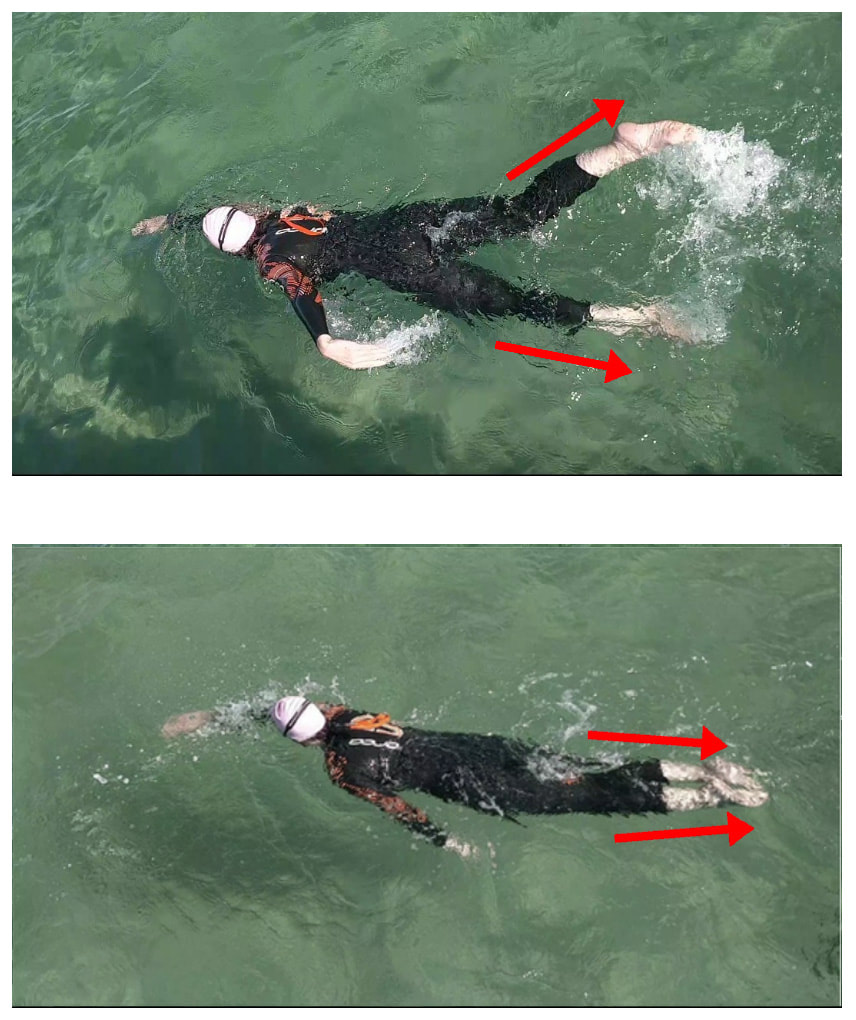
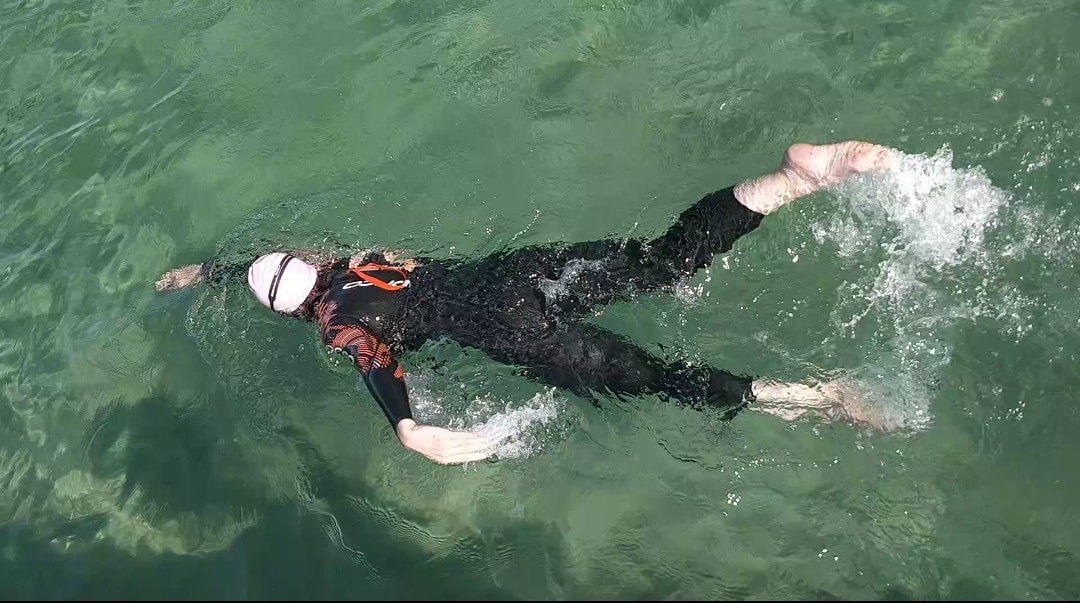
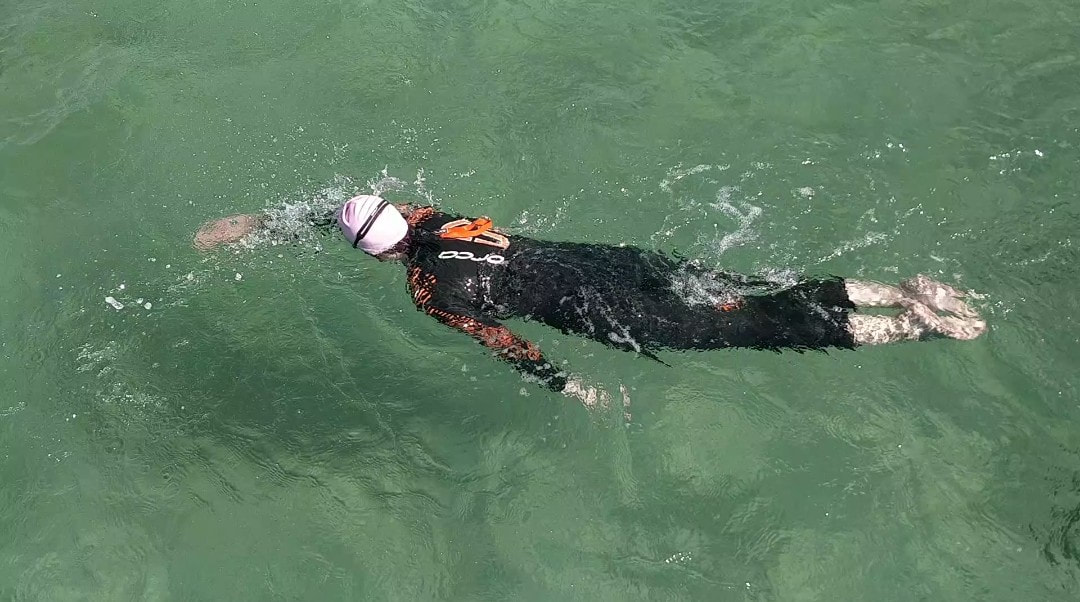
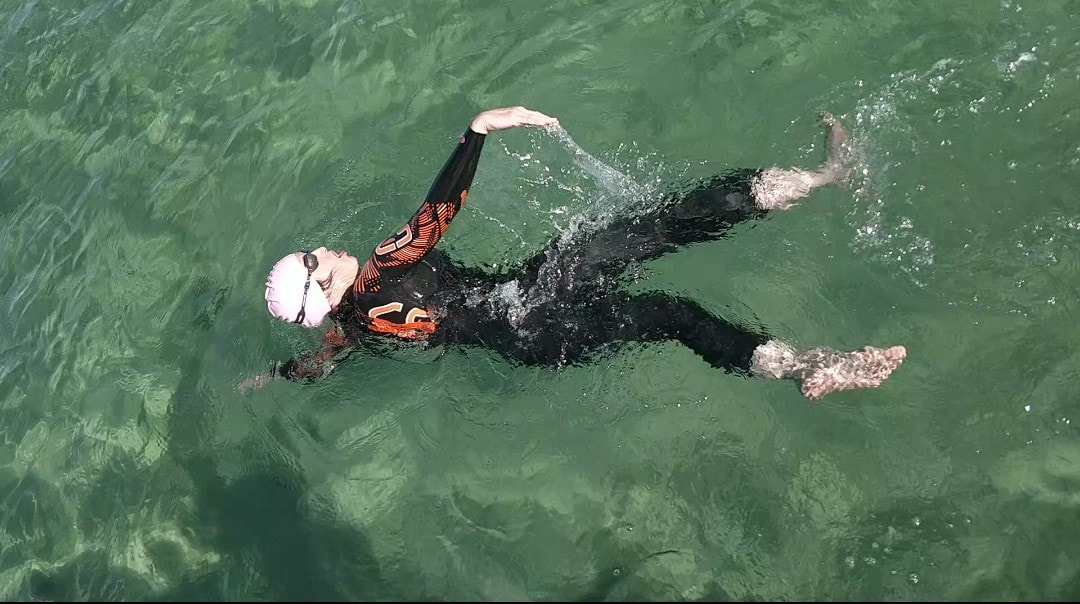
Notice in the left hand images below how the legs are creating drag by being outside the streamlined profile of the body. With stroke correction drills to work and isolate the legs we can correct this over time and create a more streamlined body position as in the right hand images.
Perfect your freestyle/front crawl kick and improve your streamlined position. The kick should be generated from your hips, with the power transferring from your hips, through your knee and flex your ankle as your foot flicks down.
Contact Linda at GoodSwim if you want to perfect your stroke and swim more efficiently and effectively.
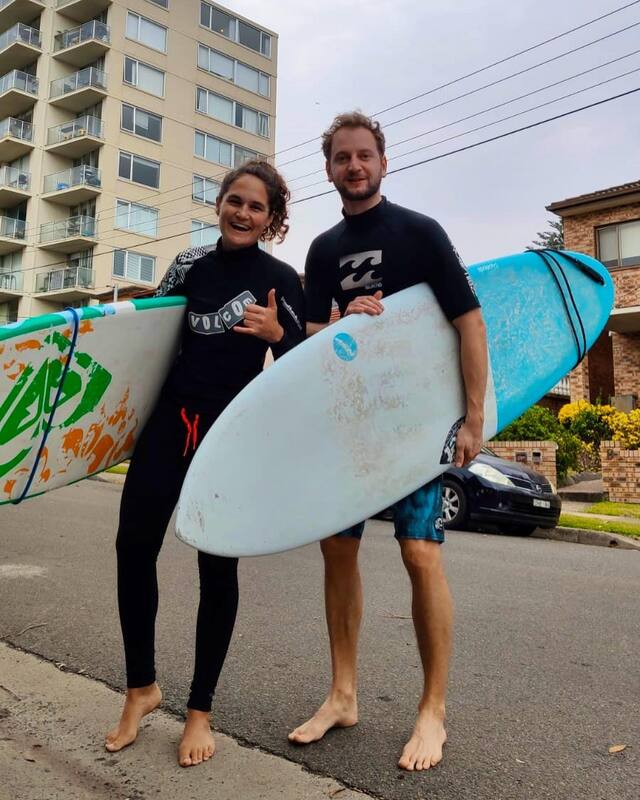
We love to hear about our clients swimming journeys with GoodSwim... What was your swim ability before you started swimming with GoodSwim? I could only swim the normal breaststroke but wasn’t able to do a good chest crawl. How did you feel after your first few sessions? After the very first lesson I already felt so much improvement and was sure I was able to learn it in a relatively short period. How did GoodSwim help you on your swim journey? Linda is such a fun, lovely woman who has a lot of patience and she has so many good tips. That helped me a lot. What was a breakthrough/stand out moment for you? That I felt that I was a much faster swimmer and it cost me less effort than a normal breaststroke. Do you have a goal or personal achievement you are working for in 2020? I have not yet set a goal for 2020 as my reason for taking the swimming lessons was mainly to gain skills and use it to improve my paddling for surfing. When there’s no surf I can always decide now to swim instead! Coaches notes: Flo came to GoodSwim looking to learn freestlye and gain knowledge of how to breathe efficiently and effectively. Flo progressed from the basics of learning how to breath, into a relaxed and smooth freestyle swimmer after just 4 x 30 minute swimming lessons. From swimming 5 metres with her head out of the water to swimming multiple 50 metre laps of the pool comfortably was both amazing and a privilege to a part of her journey. EPIC FLO! Flo also applied the skills to her surfing and became more confident in the ocean. It improved her paddle strength, technique and also for ability to control her breathing in conditions and situations outside of her comfort zone. As surfers we need to be sure of our own ability to be in the ocean and being able to swim is both essential and potentially life saving!
|
Archives
October 2023
Categories
All
|

 RSS Feed